 25-06-2010
, 15:11:55
25-06-2010
, 15:11:55
|
#8 |
| Denunciante Popular
 |  Respuesta: Usar tu Blackberry solo Wi-Fii sin plan de datos, BIS o BES Respuesta: Usar tu Blackberry solo Wi-Fii sin plan de datos, BIS o BES
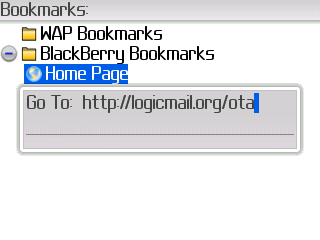
para usar el logic mail Installation[edit]¶ - Over-the-air installation
- Open the BlackBerry browser, and navigate to: http://logicmail.org/ota
- The web page should display your device model and OS version, and provides a single download link.
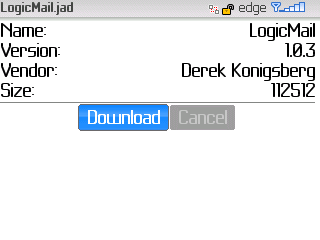
- Select the link named "Click to install"
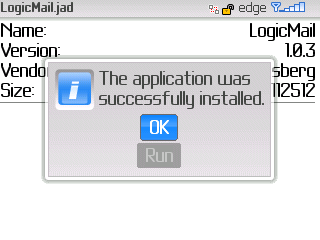
- Click the "Download" button
- Desktop-loader installation
- Go to the SourceForge Download Page
- Click on the newest release
- Download the ZIP file for your OS version (most likely BB41, unless your BlackBerry is really old)
- Unzip somewhere on your desktop, connect your BlackBerry to your desktop, navigate to that location with the BlackBerry Desktop Manager, and install
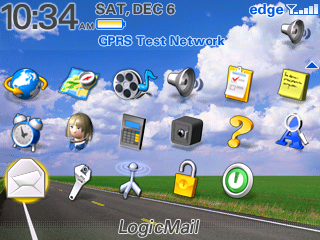
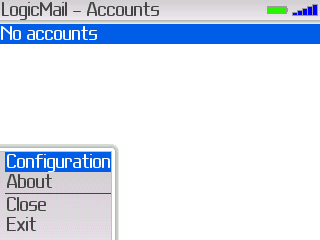
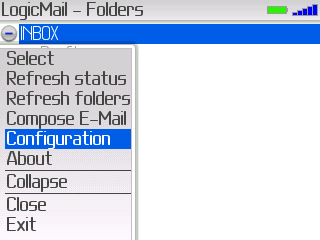
    Configuration[edit]¶ Configuration[edit]¶ - Find the application icon, and start LogicMail
- An empty account screen will be displayed
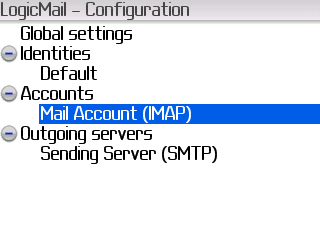
- Go to the menu, and select "Configuration"
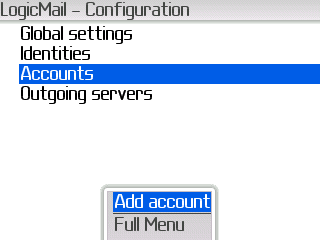
   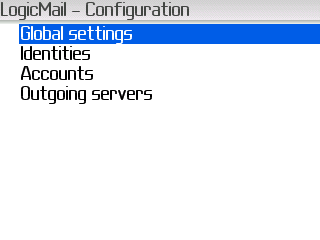 - Go to "Accounts," bring up the menu, and select "Add account"
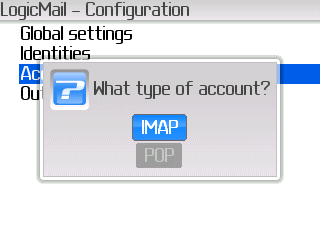
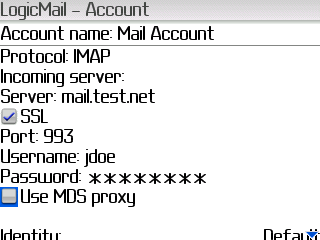
- Select the account type, "IMAP" or "POP"
- Enter the basic account settings
- Leave the screen, saving the settings
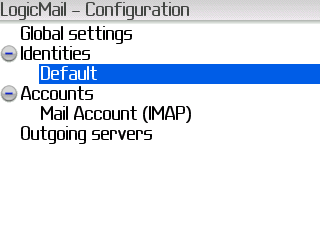
   - The configuration screen will now show your new account, and a default identity
- Select the "Default" identity, and go to the edit screen
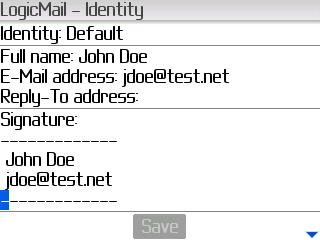
- Make sure the "Full name" and "E-Mail address" fields are correct
- Optionally enter a "Reply-To address" if it differs from your E-Mail address
- Optionally enter a signature
- Leave the screen, saving the settings
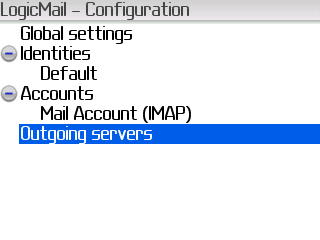
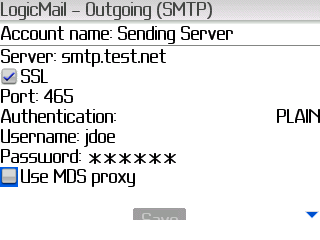
  - Go to "Outgoing servers," bring up the menu, and select to add
- Enter the outgoing server settings
- Leave the screen, saving the settings
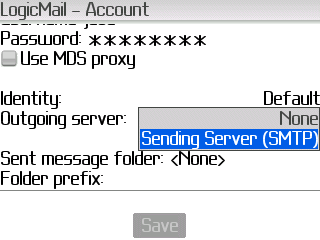
- Go back to the screen for the account you just setup
- Scroll to the bottom of the screen
- Select the outgoing server you just configured
- Leave the screen, saving the settings
- Leave the configuration screen
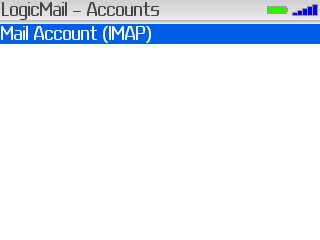
    - The account screen will now show your new account
- Select the account, and LogicMail will now connect to your mail server
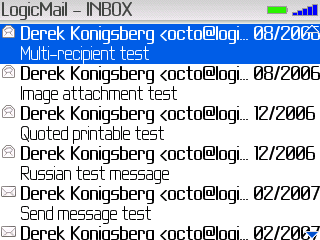
- If using IMAP, the folder list will be displayed
- If using POP, the INBOX will be displayed
   - If using IMAP, return to the configuration screen
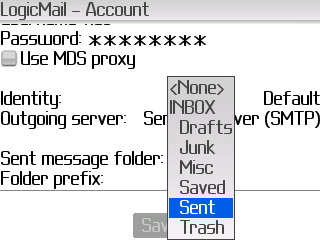
- Open the settings screen for the account
- Scroll to the bottom of the screen
- Select the "Sent message folder"
- Leave the screen, saving the settings
- Leave the configuration screen
|

|  |